
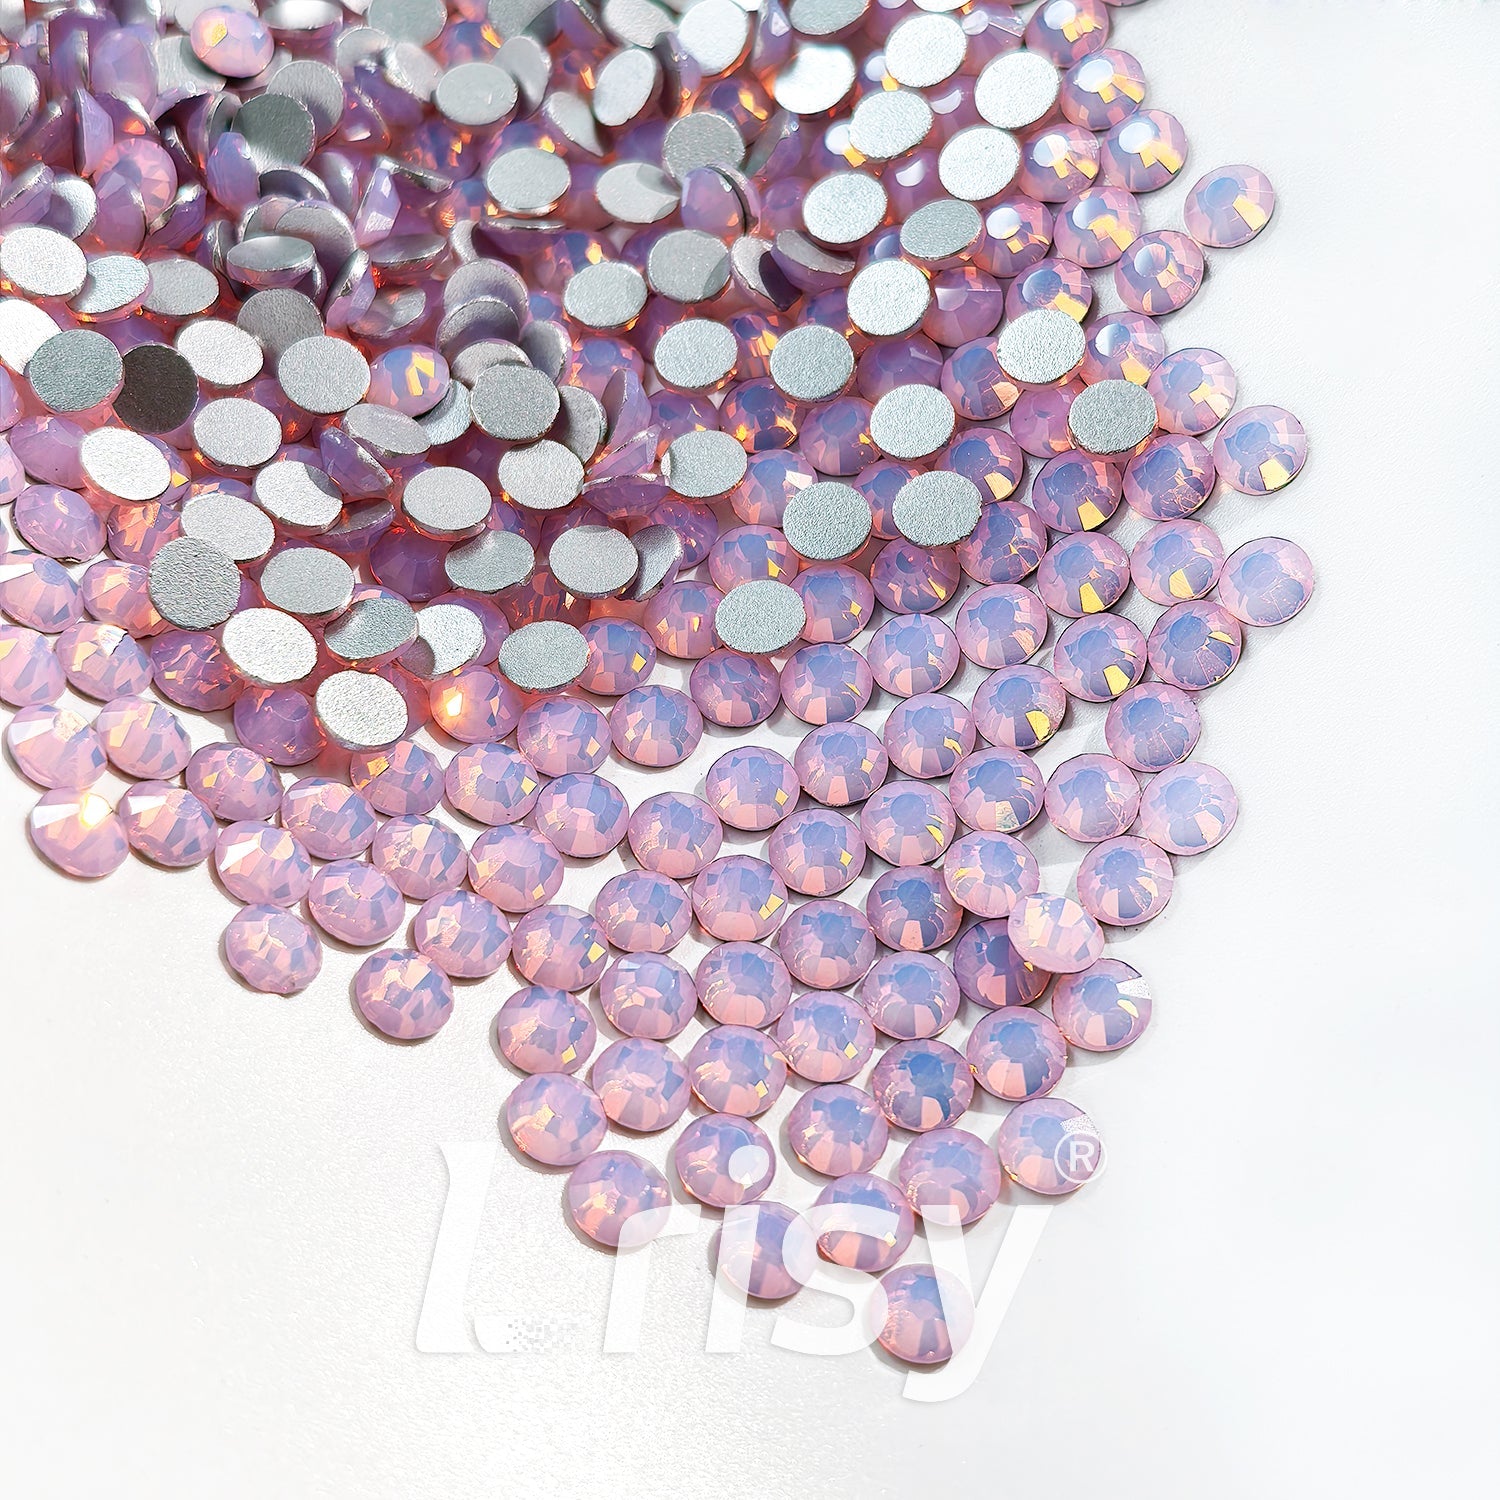

Rhinestone nail art is the single highest-margin add-on service in most salons, yet many nail techs avoid it because stones pop off, look uneven, or take too long to apply. This guide covers everything from sizing and adhesion to sealing and removal, so your rhinestone sets last three weeks or more without a single loss. Whether you are creating subtle accent nails or bold rhinestone nail designs, the techniques here work across every style and skill level.
Understanding Nail Rhinestone Sizes and Types
Choosing the wrong size or back type is the most common mistake new techs make. Let's fix that first.
The Nail Art Rhinestone Size Chart Every Tech Needs
Nail rhinestones use the SS (Stone Size) scale, which maps directly to millimeters. An ss3 stone measures roughly 1.3 mm, while an ss40 measures about 6.4 mm. Here is the practical breakdown for nails:
| ss3-ss5 | 1.3 - 1.7 mm | Micro rhinestones for cuticle lines, French tips, and filligree |
| ss6-ss10 | 1.9 - 2.6 mm | Accent nails, side borders, and small cluster work |
| ss12-ss16 | 2.8 - 3.4 mm | Central accent stone on ring fingers and thumb |
| ss20-ss30 | 4.0 - 5.2 mm | Centerpiece on stiletto, coffin, or ballerina shapes |
| ss34-ss40 | 5.6 - 6.4 mm | Statement pieces — one per hand maximum |
Stick to micro rhinestones for nails under 11 mm wide. A single oversized stone on a short nail bed looks clumsy and catches on hair and clothing.
Flat-Back vs Pointed-Back Rhinestones
Flat-back nail rhinestones have a smooth, flat underside that sits flush against the nail surface. Pointed-back stones are designed for jewelry settings and create a gap between the stone and the nail. Every manufacturer in the beauty supply space produces flat-back stones for a reason — they adhere better, require less product to secure, and feel smoother under a top coat.
Material Quality Matters
Glass rhinestones outperform plastic or acrylic stones in every metric. They resist yellowing, reflect light more sharply, and tolerate the heat of a UV lamp without clouding. Czech and Swarovski crystals are the industry standard, though Korean glass rhinestones now offer comparable clarity at roughly 60 percent of the cost.
How to Apply Rhinestones to Nails
The application process determines whether your rhinestones stay put for two weeks or fall off before the client leaves the parking lot. Follow these steps in order.
Preparation: The Foundation
Start with a fully cured gel or acrylic base. Dehydrate the nail plate with an alcohol or acetone wipe, then apply a thin layer of acid-free primer. This step is not optional — oils and dust are the number one cause of premature stone loss.
Sarah, a nail tech in Austin, told us she lost four stones on a single set before she started using primer under her rhinestone work. "I thought the gel would hold them anyway," she said. "Three days later the client came back with two missing. Now I prime every time, and I haven't had a callback in six months."
Application Methods
You have three reliable methods for adhering nail rhinestones:
Method 1 — Builder Gel (Best for Acrylics and Hard Gel)
Apply a tiny dot of clear builder gel to the spot where the stone will sit. Place the rhinestone using a wax pencil or tweezers. Cure under a UV or LED lamp for 30-60 seconds. This method creates the strongest bond and works well for intricate designs.
Method 2 — Nail Glue (Best for Quick Service and Natural Nails)
Use a thick, gel-based nail glue designed for rhinestones. Apply one small drop per stone. Hold the stone in place for 10-15 seconds until tacky, then cure if the product is UV-compatible. Avoid thin superglue-style adhesives — they seep under the stone and create a cloudy appearance.
Method 3 — Gel Top Coat (Best for Simple, Low-Profile Designs)
Apply a full layer of no-wipe gel top coat over the nail. Place stones into the wet layer, then cure. This method is fast but less durable than builder gel. Reserve it for micro rhinestones on clients who do minimal manual work.
Placement and Spacing
Use a consistent grid or pattern rather than scattering stones randomly. A gradient — small stones at the cuticle graduating to larger stones toward the tip — reads as intentional and elegant. For full coverage, place stones in straight rows starting from the cuticle edge. Leave no more than half a millimeter between adjacent stones.
Sealing Rhinestones for Maximum Longevity
Sealing is the step most techs rush, and it is exactly where longevity is won or lost.
The Double-Seal Method
Apply a thin layer of clear builder gel or thick gel top coat around and over the stones, avoiding large pooling in the crevices. Cure for the full manufacturer time — under-curing causes tacky spots that lift. Apply a second thin layer and cure again. The first layer locks the stones in place, and the second layer smooths the surface and prevents edges from catching.
Floating the Top Coat
For designs with mixed stone heights, use the floating technique. Apply a bead of thick gel top coat near the cuticle and push it slowly over the entire nail, letting the gel flow around and between the stones without brushing directly over them. This prevents bubbles and ensures every gap is filled. Cure for 60 seconds in a UV lamp or 90 seconds in an LED lamp.
What Not to Do
Do not use peel-off base coats anywhere near rhinestone work. Do not apply a single thick layer of top coat and call it done — the top layer shrinks during curing and pulls the stones away from the surface. Do not skip wrapping the free edge with top coat, because moisture intrusion from the tip is the most common failure point after cuticle lifting.
A nail salon owner in Portland, Rachel, switched to the double-seal method after losing a regular client whose rhinestones fell off three days after a $95 set. "She was a hairstylist — she needed durability," Rachel said. "I changed my protocol, sent her a photo of the same set at three weeks with zero loss, and she booked six more appointments on the spot."
Acrylic Nails with Rhinestones: Special Considerations
Acrylic presents unique challenges because the surface is porous and the material hardens through chemical reaction rather than UV curing.
Embedding vs Surface Application
For acrylic nails with rhinestones, embedding the stone into wet acrylic monomer creates the strongest bond. Apply the acrylic as usual, press the rhinestone into the wet surface until it is approximately one-third submerged, then seal with a thin layer of clear acrylic or gel top coat. This method makes the stone feel like part of the nail rather than a glued-on decoration.
Timing Matters
Place rhinestones while the acrylic bead is still wet but has reached the "tacky stage" — roughly 15-25 seconds after application. If the acrylic has already hardened, switch to builder gel adhesion instead. Forcing a stone into set acrylic creates micro-cracks that spread over the following days.
Avoiding Heat Spikes
Thick layers of gel over acrylic trap heat during UV curing, especially around metal-backed or dark rhinestones that absorb more energy. Cure in short 10-second bursts, letting the nail cool between cycles, to prevent the "heat spike" sensation that makes clients pull their hands away.
Removal Without Damaging the Natural Nail
Rhinestone removal is where most nail damage occurs. Clients and techs alike tend to pry or pick, which lifts the nail plate and creates onycholysis.
The Safe Removal Protocol
File the top layer of gel or acrylic until the stones are exposed and loose. Do not try to file through the stones themselves — glass rhinestones dull bits instantly and generate dangerous heat. Once the top layer is removed, soak the nails in pure acetone for 10-15 minutes. The stones will release on their own. Gently push remaining residue off with a wooden cuticle pusher.
What to Avoid
Never use metal tools to pry stones off. Never pick at stones with the opposite hand. Never soak for longer than 20 minutes without a fresh acetone change. If stones resist after 15 minutes, file more of the top layer and soak again — force always damages the nail.
Frequently Asked Questions
Can I use regular nail glue for rhinestones?
Regular nail glue works for temporary wear but lacks the flexibility needed for long-term adhesion. Use a gel-based nail glue or builder gel for sets meant to last longer than a few days. Thin superglue-style adhesives seep under the stone and create cloudiness.
How long should rhinestone nails last?
With proper preparation, application, and double sealing, rhinestone nails should last as long as the underlying manicure — typically two to three weeks. Individual stone loss before two weeks indicates an application error, usually insufficient prep or inadequate sealing.
Do rhinestones damage natural nails?
Rhinestones themselves do not damage the nail plate. Damage occurs during improper removal — prying, picking, or aggressive filing. Following the soak-off protocol described above preserves the natural nail underneath.
What size rhinestone is best for short nails?
Micro rhinestones between ss3 and ss6 work best on short nails. Stones larger than ss10 overwhelm a short nail bed and catch on clothing. Place them close to the cuticle line rather than at the tip to avoid excess leverage during daily use.
Can I apply rhinestones over gel polish?
Yes, apply rhinestones after the final color layer has been cured. Do not place stones directly onto the sticky inhibition layer — wipe the tacky residue first, then apply a thin layer of builder gel or top coat before positioning the stones.
How do I stop rhinestones from falling off?
Nail rhinestones fall off for three reasons: inadequate surface prep, insufficient sealing, or placing stones too close to the cuticle or free edge. Fix each variable — prime the nail, double-seal, and leave a 1-2 mm border around the entire stone cluster.
Ready to Level Up Your Rhinestone Sets?
Mastering rhinestone nail art is about systematic technique rather than natural talent. Follow the size chart, stick to flat-back glass stones, double-seal every design, and never skip prep or rush removal. Your clients will notice the difference in durability, and you will notice the difference in repeat bookings.

Leave a comment
All comments are moderated before being published.
This site is protected by hCaptcha and the hCaptcha Privacy Policy and Terms of Service apply.