
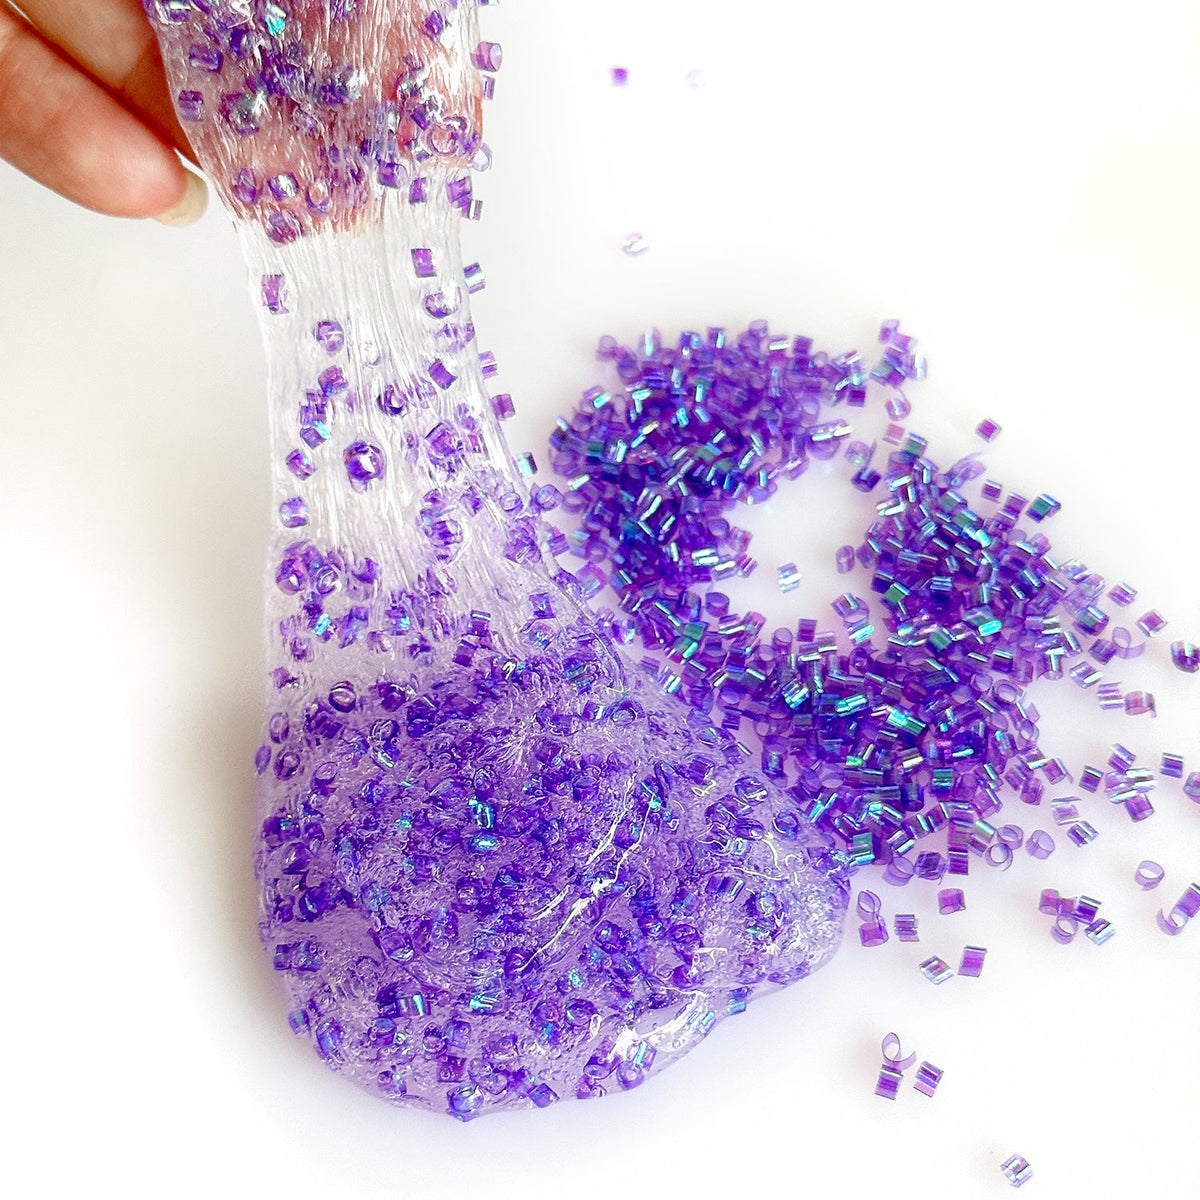

Quick Answer: The best glitter for resin is heat-resistant glitter rated to at least 180-200°C with solvent-resistant color that won't bleed into the epoxy. For shimmering depth, use extra-fine to fine glitter (0.004"-0.015"); for statement geode lines, use chunky glitter (0.1"+) mixed at a 3:1 glitter-to-resin ratio. Add 5-10% glitter by resin volume for even dispersion, and a standard 30 oz tumbler needs roughly 0.3-0.5 oz of fine glitter. Holographic, iridescent, and mica-effect finishes perform best in resin because they keep their color shift through the curing process.
Pour a 250g tub of "premium craft glitter" with no heat rating and no solvent spec into a full set of ocean-themed resin trays, and within three days the glitter has sunk, the color has bled into hazy clouds, and every tray looks like frozen smog. That's $140 of materials ending as one unusable batch.
Resin is not like glue or paint. Epoxy resin generates heat during curing through an exothermic reaction, and that heat is exactly what destroys the wrong glitter. In a thick pour — a coaster, tray, or paperweight — the internal temperature can reach 180°C or higher. Cheap craft glitter melts, clouds, or bleeds. The right heat-resistant glitter survives and keeps its sparkle permanently.
This guide covers the material requirements, particle-size decisions, mixing ratios, and techniques that separate pro-level resin art from failed pours — plus where to source glitter built for epoxy, and the bulk-buying math for anyone selling resin pieces.
Key Takeaways
- Heat rating is non-negotiable: epoxy resin cures at 180-200°C internally for some mixes, so glitter must be rated to withstand that heat without melting or clouding.
- Solvent resistance prevents bleeding: non-solvent-safe glitter bleeds color into clear epoxy, creating hazy clouds around each flake.
- Particle size controls the effect: fine (0.004"-0.015") for even shimmer, medium (0.040") for visible sparkle, chunky (0.1"+) for geode lines and statement pieces.
- Add 5-10% glitter by resin volume for even dispersion; use a 3:1 glitter-to-resin ratio for geode paste that holds its shape.
- Mix glitter after combining resin parts, never before, the heat spike happens after mixing and affects how glitter disperses.
- Holographic and iridescent finishes hold their color shift in resin better than most opaque glitters, making them the top choice for premium pieces.
Why Does Your Glitter Ruin in Resin? (The Heat Problem Explained)
If you've poured glitter into epoxy and watched it cloud, sink, or bleed, you're not alone. It's the single most common resin art failure, and it traces to one fact: resin gets hot.
Why this happens: Epoxy resin is a two-part system. When you mix the resin and hardener, a chemical reaction begins that releases heat. In a thick pour — a coaster, tray, or paperweight — the internal temperature can reach 180°C or higher. Standard craft glitter is made of PET or PVC film with dyes that are not heat-stable. At those temperatures, the film softens, the dye migrates, and the foil backing separates. The result is cloudy epoxy with dull, discolored flakes.
The fix: Buy glitter explicitly rated for resin — either labeled "heat-resistant to 180°C+" or tested in epoxy. You can verify this by asking the supplier for the resin test report. LRISY publishes epoxy test documentation on its new colors, such as the macaron color resin test and the holographic pigment resin test, so you can see how a color behaves before buying.
The second issue — color bleeding: Some glitter uses dyes that dissolve in the resin solvent. Even if the flakes don't melt, the dye leaches out and colors the surrounding resin, creating a hazy halo. This is why solvent resistance matters as much as heat resistance. Look for "solvent-resistant" on the spec sheet; LRISY's standard glitter-powder line is formulated for epoxy compatibility.
Heat-Resistant Glitter: The Spec Sheet You Must Demand
Not every "resin glitter" label is trustworthy. Here's the spec sheet you should ask for before buying in bulk, and what each number actually protects you from.
| Spec | Minimum Requirement | Why It Matters |
|---|---|---|
| Heat resistance | 180°C / 356°F | Survives the epoxy curing exotherm without melting or clouding |
| Solvent resistance | No dye bleed in solvent | Keeps color from leaching into clear resin |
| Material | PET film (thicker = better gloss) | Thicker film resists heat better and shines more |
| Foiling | Layered foil or coated | Prevents silver/gold backing from separating under heat |
| Test documentation | Published resin/epoxy test | Proof the supplier actually tested the product in epoxy |
PET film thickness matters more than most crafters realize. LRISY has documented how PET material thickness affects glitter gloss — thicker film reflects more light and holds its shine longer under heat. When comparing suppliers, ask for the film thickness in microns, not just the particle size.
A label earns trust only after verification. "Resin-safe" is an unregulated claim: any supplier can print it. A published test report, a stated micron thickness, and a heat rating in degrees are verifiable numbers. A label alone is a marketing sentence; a spec sheet is a contract.
Fine vs Chunky: Choosing the Right Particle Size for Resin
Particle size is the second decision that determines your result. There is no single "best" size: the right choice depends on the effect you want, and mixing behavior matters as much as look.
Extra-Fine and Fine Glitter (0.004" - 0.015")
Fine glitter creates an even, dense shimmer throughout the resin. It disperses uniformly, suspends well, and gives a "glow from within" effect. Best for: coasters, jewelry, small charms, and any piece where you want consistent sparkle rather than visible flakes.
Medium Glitter (0.040")
Medium particles give noticeable, individual sparkle while still mixing evenly. Best for: tumblers, bookends, and medium decorative pieces where you want the glitter to read clearly but not dominate.
Chunky Glitter (0.1" - 0.25")
Chunky glitter creates visible dimensional flakes — hexagons, stars, hearts, and geometric shapes. It's the core of geode and "crystal cave" styles. Because chunks are heavy, they settle or need a thick resin ratio to stay put. Best for: geodes, statement art, and decorative top layers.
Real-world comparison: A resin artist selling phone grips found that fine glitter grips looked "expensive" and sold at a 25% premium, while chunky glitter grips looked "fun" and sold faster but at base price. Both sell; they attract different buyers, and both are valid product lines with different margins.
| Particle Size | Effect | Best For | Mixing Behavior |
|---|---|---|---|
| 0.004" - 0.015" | Even shimmer | Coasters, jewelry, charms | Suspends evenly |
| 0.040" | Visible sparkle | Tumblers, bookends | Mixes well |
| 0.1" - 0.25" | Dimensional flakes | Geodes, statement pieces | Settles; needs thick ratio |
For the full range of particle sizes in one place, LRISY's glitter powder collection spans extra-fine through chunky, and the shaped chunky glitter category covers hexagon, star, and heart shapes for geode work.
How to Mix Glitter into Resin Without Sinking or Clouding
Getting the technique right is as important as choosing the right glitter. Here's the sequence that produces clean, bubble-free, evenly dispersed results, and the reasons behind every step.
Step 1: Measure and Mix the Resin First
Combine the resin and hardener in the exact ratio your product specifies. Mix thoroughly for 2-3 minutes, scraping the sides and bottom. Only after the resin is fully mixed do you add glitter. Adding glitter before mixing is complete causes clumping and uneven dispersion: the flakes get trapped in partially mixed resin and pull together into lumps.
Step 2: Add Glitter in Stages
Sprinkle glitter into the mixed resin in small increments, stirring gently between additions. Adding everything at once creates lumps. For fine glitter, aim for 5-10% of the resin volume for an even shimmer; for chunky, you'll use more by weight but it should still be incremental. Staged addition works because each small addition gets fully coated in resin before the next lands, so flakes stay separate instead of stacking into clumps.
Step 3: Choose the Right Mixing Consistency
For even distribution: keep the resin warm enough to be thin (follow the manufacturer's working-temperature range), which lets fine glitter suspend instead of sinking. For geode lines that resist spreading: use a 3:1 ratio of glitter to resin: the thick paste holds its shape on the edge of the pour. Consistency decides the outcome: glitter either sinks, suspends, or floats based on the resin's viscosity at pour time. Thin resin = sinking heavy flakes; thick resin = flakes locked in place.
Step 4: Pour and Level
Pour the glitter-resin mix as usual, then gently torch or mist to pop bubbles. Work quickly while the resin is in its thin phase; as it thickens, glitter locks in place. Torching matters more with glitter because glitter edges trap micro-bubbles that plain resin doesn't, and a quick pass pulls them to the surface before the resin gels.
Step 5: Layer for Depth
For dimensional pieces, pour a thin clear layer, let it partially set, then pour a glitter layer. Multiple partial pours create suspended bands of sparkle rather than everything sinking to the bottom. A single thick pour gives heavy glitter time to sink before the resin gels; thin sequential layers trap each band of sparkle where you placed it. That is the whole argument for layering.
Best Glitter Finishes for Resin (What Holds Its Color Shift)
Certain finishes perform better in resin than others. Here's how the main types behave when sealed in epoxy, and which ones keep their effect through the cure.
Holographic Glitter
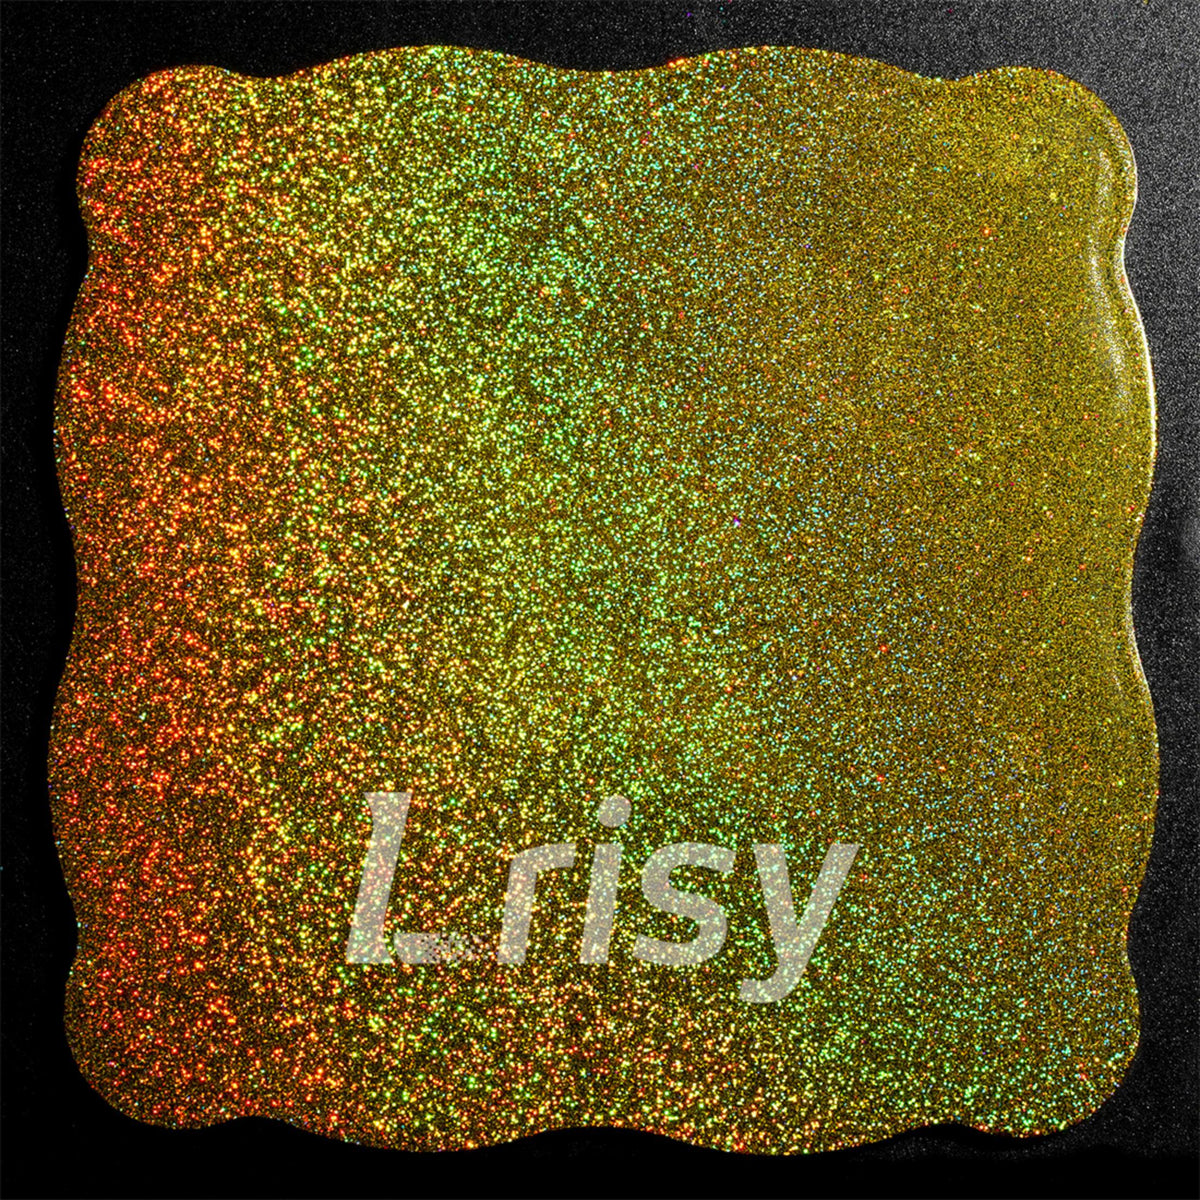
Holographic resin art is a proven category. The rainbow diffraction survives curing and reads as premium under any light. LRISY's holographic glitter range is formulated for epoxy and is a top seller for geode and coaster work. The diffraction is a physical surface etching, not a dye, so the heat that destroys color pigments leaves the etched structure intact.
Iridescent / Color-Shift Glitter
Iridescent's two-tone shift creates a subtle, sophisticated depth in resin: the color appears to change as the piece is viewed from different angles. It's the favorite for "watercolor" style pieces. Browse iridescent glitter for white-to-gold and pink-to-green options that read beautifully in epoxy. That premium look comes from thin-film interference: a physical layer effect that holds through cure, unlike pigments that migrate in solvent.
Mica-Effect and Metallic Glitter
Mica-based glitters give a smooth, pearlescent finish that works well for jewelry and small charms where you want shimmer rather than flake texture. Mica and glitter are different tools: mica colors the resin itself with a soft glow; glitter sits inside it as visible flakes. Layering both — a mica base with a glitter top — is the technique behind most "expensive-looking" resin pieces.
Opaque Solid Glitter
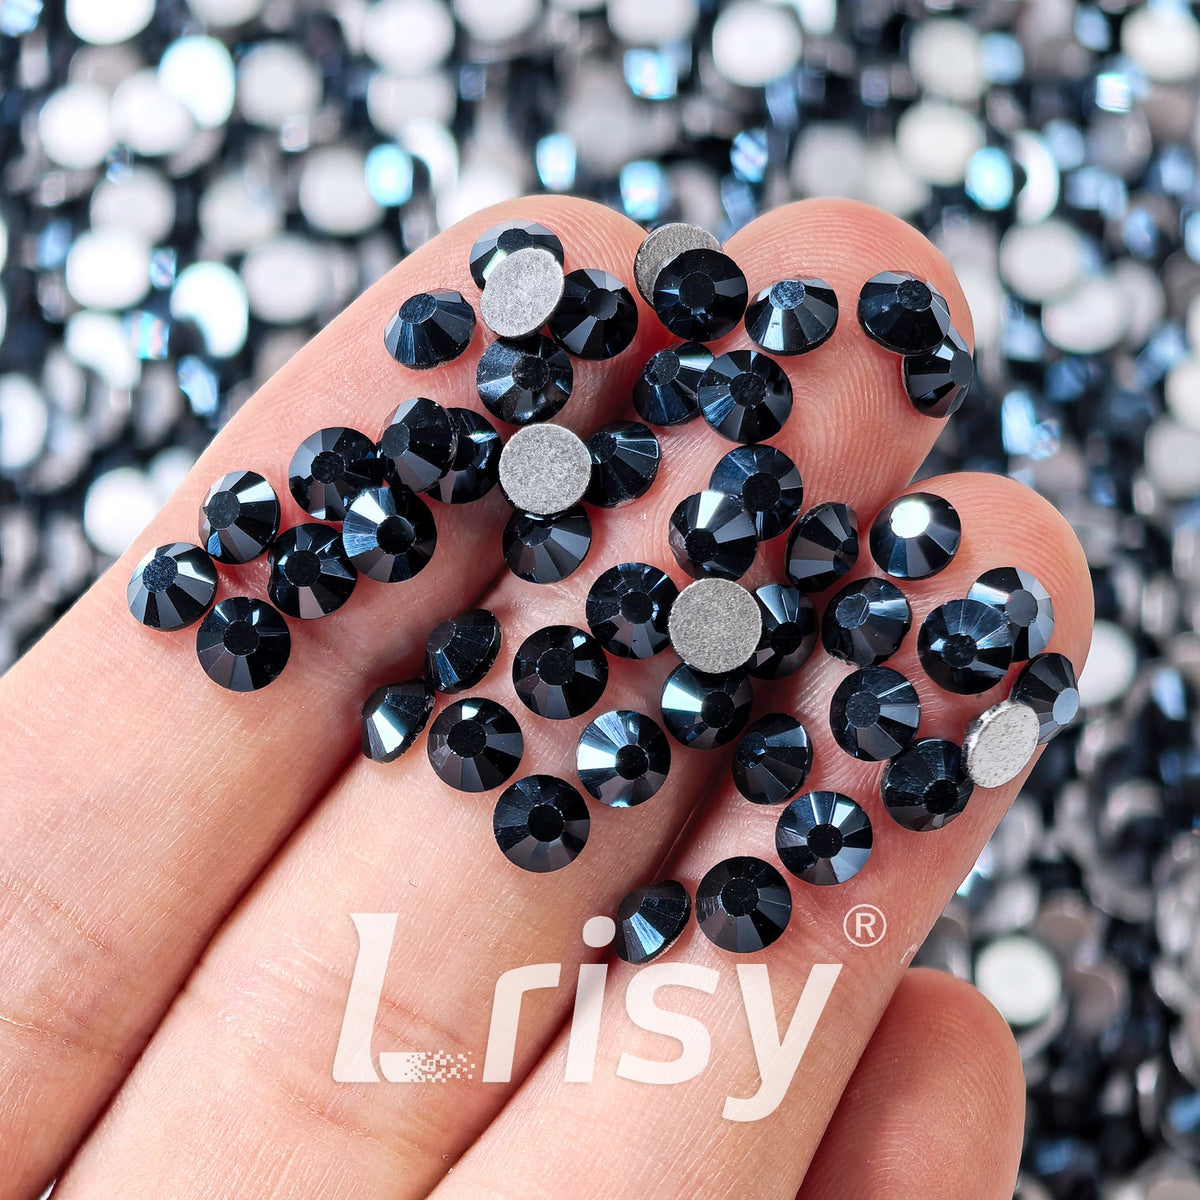
Solid-color glitter (red, blue, gold) is reliable but flat; it reads as sparkle without color shift. Use it when you need a precise color match rather than an effect. The gold glitter and black glitter collections are the two highest-demand solid options for geode and coastal pieces.
Which to stock: For a resin business, the highest-return mix is holographic (volume), iridescent (premium margin), and a solid-color range (project staples). The wholesale glitter buying guide covers how to build this inventory cost-effectively.
Geode & Statement Techniques: Making Chunky Glitter Stay Put
Geode and "crystal cave" pieces are the highest-ticket resin items, and the hardest to pull off, because chunky glitter wants to sink and spread. Three techniques solve both problems.
The 3:1 paste method
Mix chunky glitter with just enough resin to form a thick, spreadable paste — roughly a 3:1 glitter-to-resin ratio. Apply it along the geode edge with a palette knife or toothpick. The paste is so thick it has nowhere to sink; it holds its position while the surrounding clear resin cures around it.
The partial-cure trap
Pour the clear base, wait until the resin has thickened to a honey consistency (typically 20-45 minutes into the working window), then sprinkle or place chunky glitter on top. This trap works because the partially gelled resin is viscous enough to hold flakes in place but still wet enough to bond to the new glitter layer: the sweet spot that keeps chunks suspended at the surface.
Layered crystal pours
For deep geodes, pour alternating clear and glitter layers, letting each set to gel before the next. This creates the "cave wall" depth that makes geode pieces photograph so well. Multiple layers matter because each layer freezes its own band of sparkle, so the piece has visible dimensional depth instead of one flat glitter surface.
Mastering geode work pays off: pieces command 2-4x the price of plain coasters because they look like hours of labor, and with the paste method, they're actually one of the faster resin projects to produce.
Glitter for Resin Tumblers: The Most Common Resin Project
Tumblers are the entry point for most resin businesses, and the project where glitter-buying mistakes hurt most, because a tumbler uses visible quantities of glitter on a large curved surface.
How much glitter does a tumbler need?
A standard 30 oz tumbler needs about 0.3-0.5 oz of fine glitter for an even shimmer, or 0.5-0.75 oz of chunky glitter for a statement look. Extra-fine runs lighter (0.2-0.3 oz); chunky runs heavier because large flakes cover less surface per gram. At retail jar pricing, that's $1.50-$3.00 per tumbler in glitter alone; at factory-direct pricing, the same tumbler drops to a fraction of a dollar, the difference between a profitable product and a loss leader.
The tumbler technique
Roll the tumbler in a thin coat of resin, sprinkle glitter over the wet surface, and rotate until fully coated, then seal with a second thin resin layer. Rolling beats pouring on a curved surface because gravity pulls poured resin to the bottom; rolling keeps the coat even on all sides, and the second layer locks the flakes flat.
Tumblers are the resin business's volume driver: they're fast, giftable, and photograph well, but they consume glitter at a predictable per-unit rate. Knowing that rate lets you price your product and buy your glitter inventory with confidence. The bulk glitter for resin tumbler business guide walks through the per-tumbler cost math, and the how much glitter do I need guide has the quantity calculators for every project size.
Bulk Buying Glitter for Resin Businesses: The Wholesale Math
If you sell resin art — coasters, trays, tumblers, jewelry — you'll go through glitter faster than you expect. Buying per-project at craft stores is 3-5x more expensive than bulk. Here's the bulk-buying logic.
Buy by weight, not by jar
Compare the per-100g price across suppliers. Craft-store jars are priced per jar; factory-direct bulk is priced per kilogram. A 1kg bag of fine glitter typically outlasts 20+ small jars and costs a fraction of the equivalent volume. Jar sizes vary so wildly that weight is the only fixed unit of comparison: a "large" jar from one brand can hold half what a "small" jar from another holds.
Match particle size to your product mix
If 70% of your sales are coasters and jewelry, stock mostly fine glitter with a chunky line for custom geode requests. Buying blind variety packs creates dead inventory. Fine and chunky are not interchangeable: the wrong stock is money sitting in a tub that your product line can't use.
Request the resin test
Before committing to a new supplier, ask for the epoxy test documentation. A supplier that can't show a resin test is betting your next batch on unverified chemistry. A single bad batch of non-heat-rated glitter can ruin $500+ of resin product, and the test report is the cheapest quality insurance you can buy.
The full sourcing checklist — MOQs, pricing per weight, color consistency, and delivery — is in the wholesale glitter buying guide. For resin-specific suppliers, see the glitter for resin art bulk buying guide. And before your first bulk order, LRISY's glitter sample sets let you run the resin test on real product at low cost.
Troubleshooting: 6 Resin Glitter Fails (And How to Fix Them)
These are the exact failure modes resin artists search for: the queries that a troubleshooting table captures best. If you've hit any of them, the fix is below.
| Problem | Root Cause | Fix |
|---|---|---|
| Glitter clouds the resin | Non-heat-rated glitter melts in the curing exotherm | Switch to heat-rated (180°C+) glitter; verify with a resin test |
| Color bleeds into hazy halos | Dye is not solvent-resistant | Use solvent-resistant glitter; check the spec sheet before pouring |
| Glitter sinks to the bottom | Heavy chunky flakes + thin resin | Use a 3:1 paste, pour in layers, or wait for partial gel before adding |
| Glitter floats to the top | Light film particles + dense resin | Mix more thoroughly; fine particles should suspend — test-cure first |
| Silver backing separates | Foil layer not bonded for heat | Ask for layered-foil or coated glitter; avoid cheap single-coat film |
| Looks dull after cure | Thin PET film + matte top coat | Use thicker-film glitter and a glossy resin top coat to restore shine |
People search these exact phrases: "why does glitter sink in resin," "does glitter melt in resin," "why is my resin cloudy." A search-query-named troubleshooting table captures long-tail traffic that generic guides miss, and it answers the reader's actual moment of panic.
Eco-Friendly Resin Glitter & Biodegradable Options
Biodegradable glitter is the fastest-growing segment in the glitter market, driven by the EU microplastics restriction (Regulation 2023/2055) and rising consumer demand. For resin, the eco decision has a technical catch you need to know before you buy.
Why biodegradable glitter is tricky in resin
Biodegradable glitter is made from cellulose, plant-based film, or mica-coated material; none of which have the same heat and solvent profile as PET. In an exothermic epoxy pour, some biodegradable films can cloud or break down faster than PET. The word "biodegradable" describes end-of-life behavior, not pour performance. A glitter that is eco-friendly in compost is not automatically resin-safe in a 180°C exotherm. You must verify both the heat rating and the biodegradability certification.
How to verify a "biodegradable" claim
Look for third-party certifications rather than the word "biodegradable" on the label. OECD 301 (ready biodegradability), TÜV OK Compost, and EN 13432 are the benchmarks used by certified brands like Bioglitter (Sili, Germany). "Bio-coated" PET, standard PET with a thin bio coating, is not the same as truly biodegradable material, which is why certification matters. The distinction changes both the environmental claim and how the product behaves in resin.
Eco sourcing is a business decision, not just a values decision: biodegradable glitter commands a 2-3x price premium and is the fastest-growing high-margin segment, but only if your product actually performs. For resin art that needs to last, standard PET remains the durable workhorse; biodegradable is the positioning play for eco-branded lines. The bulk biodegradable glitter buying guide covers the certification landscape in depth.
Wholesale & Bulk Buying: How to Get heat-rated glitter at Factory-Direct Prices
Wholesale glitter runs 40–70% below retail, but the right grade and MOQ make the difference between a great margin and locked-up cash. Here is the 2026 factory-direct picture for heat-rated glitter.
| Grade | Wholesale Price | Typical MOQ | Best For |
|---|---|---|---|
| Standard craft-grade PET | $10–25/kg | 50+ lb factory-direct | Crafts, decor, tumblers |
| Cosmetic-grade PET | $18–30/lb | 500g–5kg / color | Makeup, nails, body |
| Premium / holographic | $30–60/kg | 500g–5kg / color | Nail art, resin, fashion |
| Certified biodegradable | $45–65/lb | 50+ lb | Eco lines, EU market |
Buying by weight (per kg or per pound) instead of by jar is the single biggest signal that you are paying reseller markup. Factory-direct MOQs usually start around 500g–5kg per color for cosmetic/PET grades, and 50+ lb for craft and certified-biodegradable runs. Custom packaging adds $0.50–$2.00 per unit — worthwhile only if you sell private label.
FAQ: Glitter for Resin Art
What kind of glitter is safe for resin?
Heat-resistant glitter rated to at least 180°C with solvent-resistant color. Standard craft glitter melts, clouds, or bleeds when exposed to the epoxy curing heat.
Why does my glitter sink in resin?
Heavy chunky glitter sinks before the resin sets. Fix it by using a thicker resin-to-glitter ratio, pouring in layers, or waiting for the resin to partially thicken before adding the glitter layer.
Can I use holographic glitter in resin?
Yes, holographic is one of the best resin finishes. It keeps its rainbow effect through curing. Ensure it's heat-rated to 180°C+ and solvent-resistant.
How much glitter do I add to resin?
For even shimmer, 5-10% glitter by resin volume. For geode lines that hold their shape, use a 3:1 glitter-to-resin ratio applied as a thick paste.
Does glitter affect resin curing?
Glitter itself doesn't inhibit curing if used in reasonable amounts. Heavy glitter loads (over ~15%) can trap air or thicken the mix, so pop bubbles carefully and stay within the working window.
Is mica or glitter better for resin?
Mica gives a smooth, pearlescent glow with no visible flakes; glitter gives visible sparkle. Use mica for subtle, jewelry-grade finishes and glitter for dimensional effects. Many artists use both in layers.
What is the best particle size for resin tumblers?
A standard 30 oz tumbler needs about 0.3-0.5 oz of fine glitter for even shimmer, or 0.5-0.75 oz of chunky for a statement look. Fine glitter suspends evenly; chunky creates visible flakes.
📖 Reading Next
Continue exploring the LRISY glitter library:
- Glitter for Resin Art Bulk Buying Guide — MOQs, pricing, and supplier checks for resin crafters.
- Bulk Glitter for Resin Tumbler Business — per-tumbler cost math and inventory planning.
- How Much Glitter Do I Need? — per-project quantity calculations for any resin piece.
- Wholesale Glitter Buying Guide — the full sourcing checklist for any glitter business.
- Bulk Biodegradable Glitter Buying Guide — certification landscape and eco sourcing.
Conclusion
Resin art rewards glitter that is engineered for epoxy, not glitter that merely looks pretty in the jar. Heat resistance (180°C+) keeps flakes intact through the cure, solvent resistance stops the color bleed, and PET film quality preserves the shine. Particle size then shapes the look, fine for shimmer and chunky for geodes, while finish sets the tone, holographic for volume and iridescent for premium margins. Get those right and your pieces sparkle for years instead of clouding in days. If you only pour thin, flat layers that never build real heat, the heat rating matters less than color and film quality; the moment the pour thickens into a coaster, tray, or tumbler, heat resistance stops being negotiable.
Why it matters: every failed pour is wasted resin, wasted hours, and a damaged reputation, and almost every failure traces back to a glitter spec that was skipped, not a technique mistake. The material science is the moat in resin art, and it costs nothing extra to verify a spec sheet before you pour.
Ready to pour? Browse LRISY's epoxy-tested glitter powder collection, explore the epoxy resin art accessories range, and check the published resin test reports before you commit to a color. Start with a sample set and test-cure before your first production batch.

Leave a comment
All comments are moderated before being published.
This site is protected by hCaptcha and the hCaptcha Privacy Policy and Terms of Service apply.